
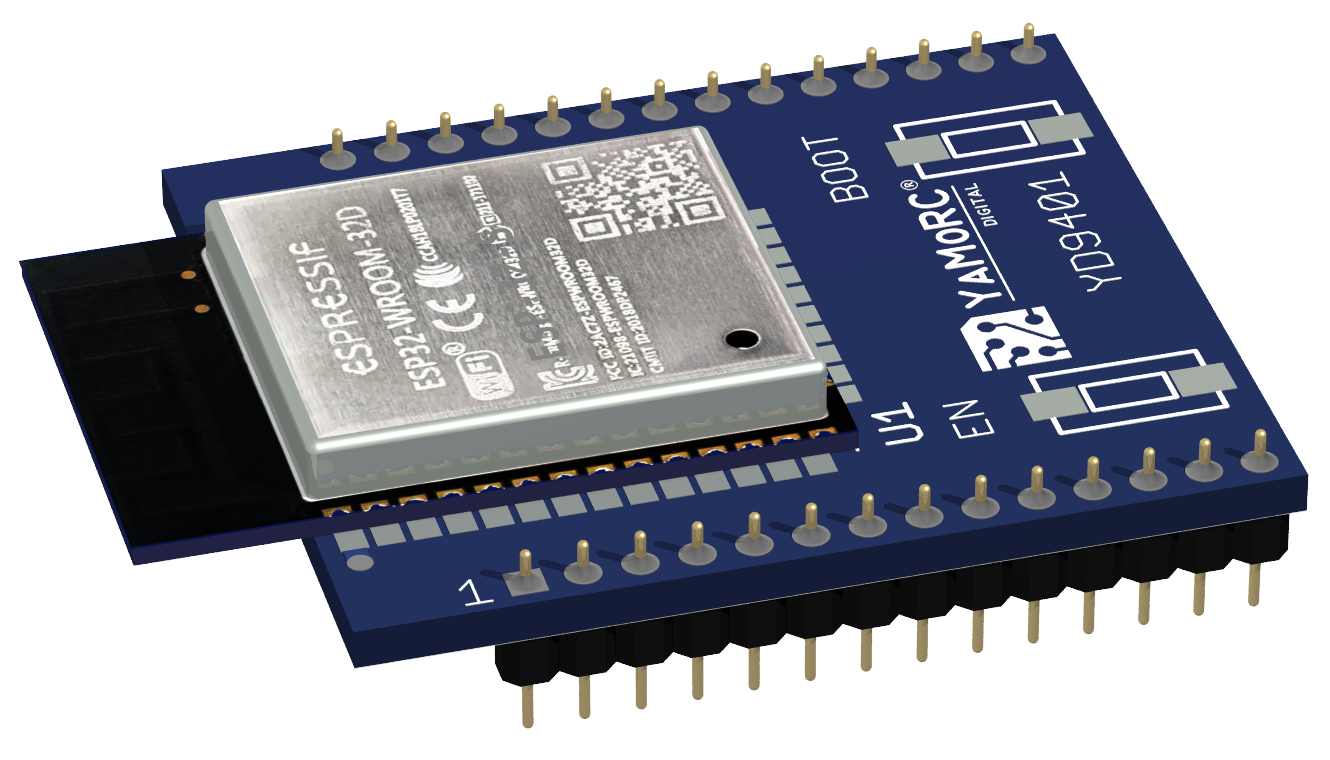
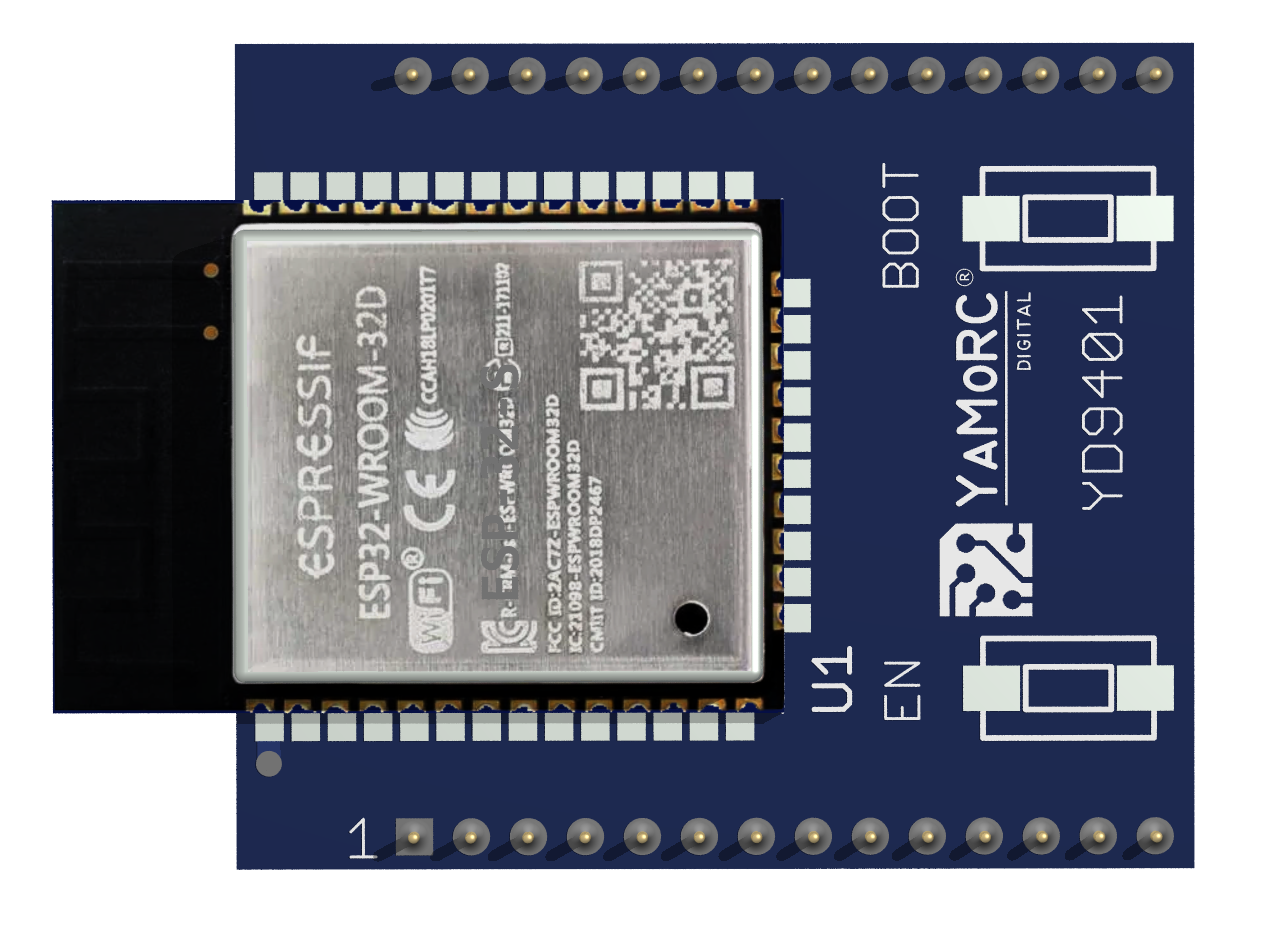
YD9401
€62.50
The WiFi / LAN aftermarket upgrade to replace a Digikeijs DR5000`s RM04 outdated Wifi/LAN module.
It presents :
- WiFi/WLAN accesspoint for standalone operation without the need for an external router
- LAN 100baseT Ethernet port to integrate the gateway in your home network
- Built-in Webserver for configuring and operating the DR5000 with no need for PC or Phone/Tablet installed Software or Apps. Just runs from any browser !
- XpressNet-LAN, Z21®, LocoNet Binary, LocoNet LBServer, JMRI: WiThrottle and YD.Command protocols on WiFi and LAN and … SIMULTANEOUS !
- Your DR5000 turns in to a YD7001 COMMAND STATION !
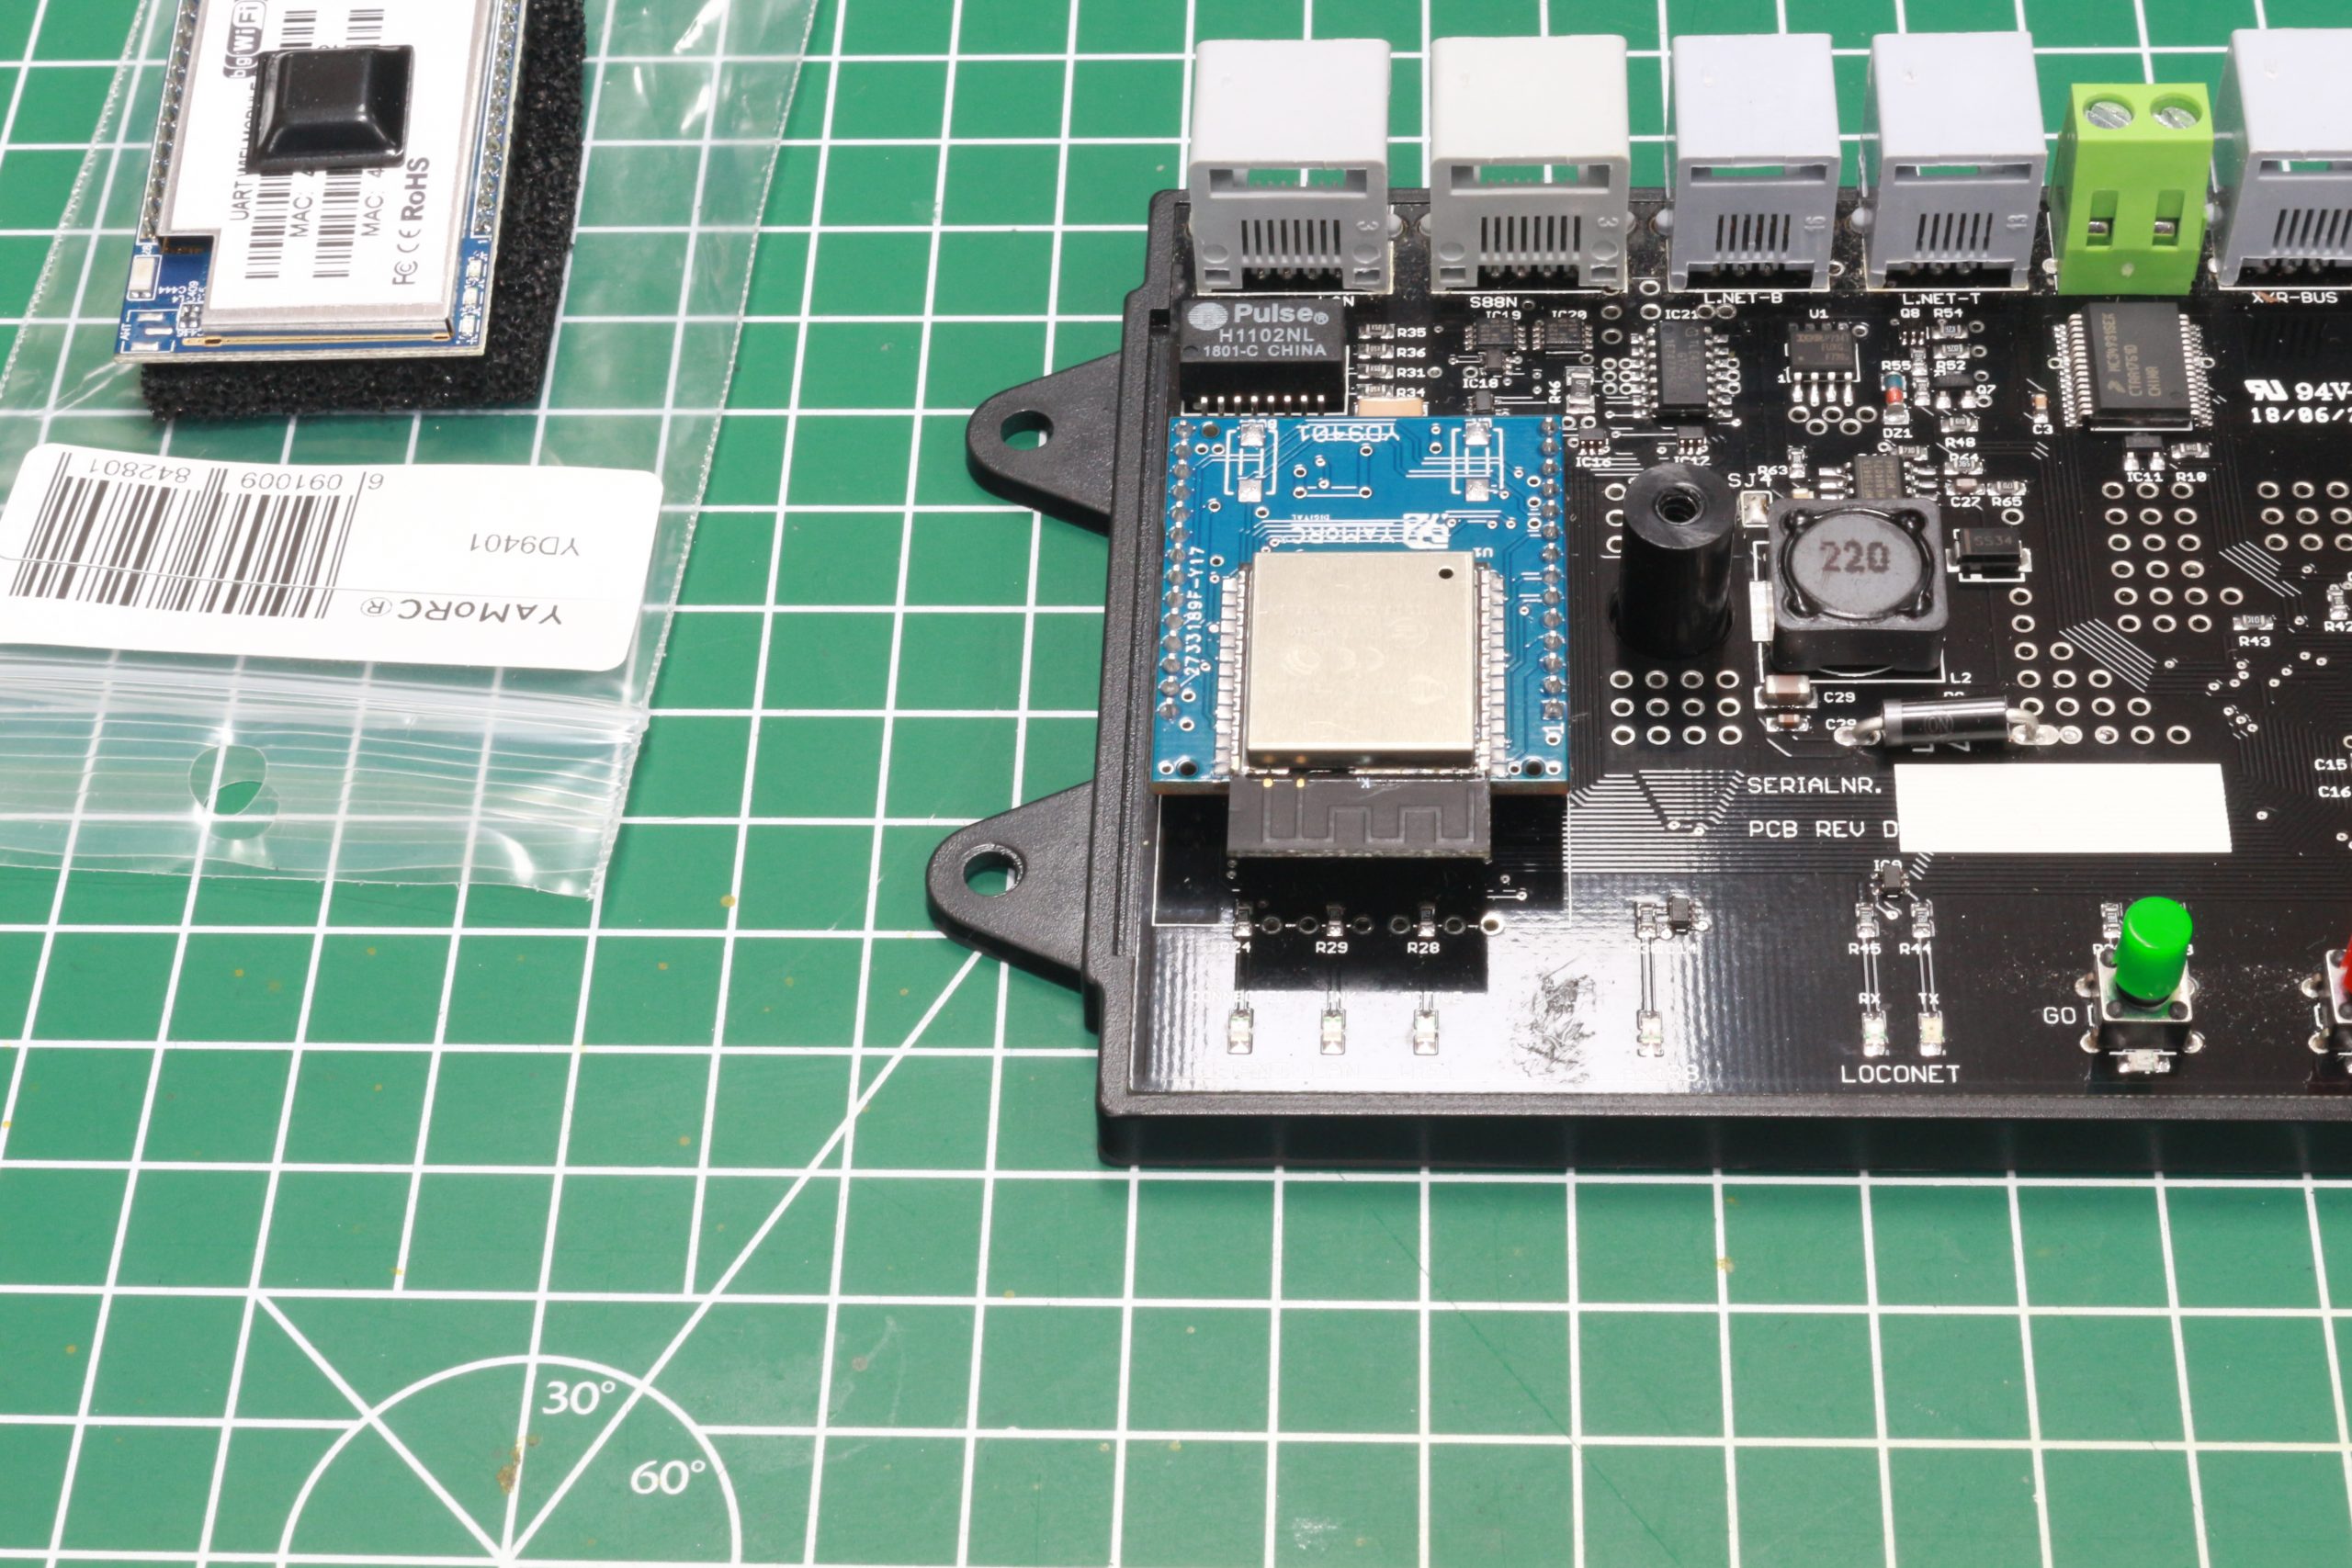
This upgrade can be done by the end-user. We will provide a new sticker to cover the screw holes. In case you do not trust yourselve to open the DR5000 and change the WiFi/LAN Module, we provide an upgrade service. Please contact us for details.
Note: Applying this upgrade voids your Digikeijs warranty on the product. YaMoRC cannot take over the warranty on the DR5000 part for legal reasons. On the YD9401 however, YaMoRC guarantees it`s normal warranty.
Product Question
YD8116
Our YD8116 can be controlled either via “normal” DCC turnout addresses or via the relatively new DCCext format.
Briefly summarized, the difference:
With multi-aspect signals, switching via “normal” DCC addresses can become complicated. Different DCC switching commands must be combined in a certain time and sequence. This, of course, also consumes several DCC addresses.
If the DCCext format is used, only one DCC address is needed to control the different signal aspects for multi-aspect signals.
control. To the DCC address simply a value from 0 to 255 is sent. A specific signal aspect can be individually assigned to each value.
What is the advantage of DCCext?
- No complicated DCC address combinations have to be switched!
- The use of DCCext saves normal turnout addresses!
- Thus, as an example, for a DB H/V exit signal with four aspects, only one single turnout address is required, whereas conventionally two or more DCC addresses are required.
- Up to 255 switching aspects can be freely assigned.
For more detailed information, please refer to the RCN-213 standard. Please note that the command station you are using must support the DCCext format.
In certain circumstances, the YD8008/8044/8116 modules can become “bricked”.
That means, they are not accessible anymore after a firmware update, configuration attempt or a settings import.
Usually that shows by not being “seen” anymore in the configuration program and/or no LEDs lighting up anymore.
The procedure to get your module “back to life” is this:
(the example is for the YD8116. For other modules substitute YD8116 with the name of your module)
ENGLISH
- look for YD8116.exe in the installation folder.
- connect the YD9100 to USB, but not yet to the YD8116.
- start YD8116.exe with a double-click.
- go directly to “ES-PGM” and click on “Update YD8116”.
- after a short moment the message “Connect your device in bootloader mode” will appear, do not yet click OK now!
- Press and hold the programming button on the YD8116.
- plug the YD9100 into the ES-PGM-LINK of the YD8116.
- as soon as the red LED lights up, click OK while the programming button is still pressed.
- when the green LED starts flashing rapidly, the button can be released.
- when updating is complete, click Restore factory settings.
DEUTSCH
- Suchen Sie im Installationsordner nach YD8116.exe.
- Verbinden Sie den YD9100 mit USB, aber noch nicht mit dem YD8116.
- starten Sie YD8116.exe mit einem Doppelklick.
- gehen Sie direkt zu “ES-PGM” und klicken Sie auf “Aktualisiere YD8116”.
- nach einem kurzen Moment erscheint die Meldung “Connect your device in bootloader mode”, klicken Sie jetzt noch nicht auf OK!
- Drücken und halten Sie die Programmiertaste am YD8116.
- stecken Sie das YD9100 in den ES-PGM-LINK des YD8116.
- Sobald die rote LED aufleuchtet, klicken Sie auf OK, während Sie die Programmiertaste gedrückt halten.
- Wenn die grüne LED schnell zu blinken beginnt, kann die Taste losgelassen werden.
- Wenn die Aktualisierung abgeschlossen ist, klicken Sie auf Werkseinstellung Zurücksetzen.
NEDERLANDS
- zoek in de installatie map naar YD8116.exe.
- verbind de YD9100 met USB, maar nog niet met de YD8116.
- start YD8116.exe met een dubbelklik.
- ga direct naar “ES-PGM” en klik op “Update YD8116”.
- na een klein moment verschijnt er de melding “Connect your device in bootloader mode”, nu nog niet op OK klikken!
- druk het programmeer knopje op de YD8116 in en houd deze ingedrukt.
- steek de YD9100 in de ES-PGM-LINK van de YD8116.
- zodra de rode LED brandt, klik op OK terwijl het programmeerknopje nog ingedrukt is.
- als de groene LED snel begint te flikkeren, kan het knopje losgelaten worden.
- als het updaten klaar is, klik dan op Fabrieksinstellingen terugzetten.